My dad was the one who taught me how to make scrambled eggs. Not my mom, with her encyclopedic knowledge of pastry, but my dad, a man of few words and a deep appreciation for a simple, well-made thing. He’d stand at the stove, whisk in hand, and say, “Clara, it’s not about being fancy. It’s about being patient.” He was right. For years, I made the classic mistake: high heat, frantic stirring, ending up with dry, rubbery curds that wept a sad, greyish water. It was edible, sure. But it wasn’t good. It wasn’t the creamy, dreamy, almost custardy cloud of eggs I now know is possible. This method? It’s a game-changer. It’s my dad’s quiet wisdom, mixed with a little French bistro technique I picked up along the way.
Quick Look
| Prep | Cook | Total | Feeds | Level |
|---|---|---|---|---|
| 2 mins | 10 mins | 12 mins | 2 people | Easy |
Why You’ll Love This Recipe
- They’re luxuriously creamy, not rubbery. We’re talking about a texture that’s closer to a warm cloud than a kitchen sponge.
- It requires just one bowl and one pan. Minimal cleanup is a love language, I’m sure of it.
- This technique is a foundation. Master this, and you’ll never look at an egg the same way again.
- It’s a lesson in patience and low heat. A small victory that sets the tone for a calm morning.
Grab These
- 4 large, fresh eggs (the best you can afford, seriously. It matters.)
- 2 tablespoons whole milk, half-and-half, or for the truly decadent, heavy cream
- 1 tablespoon unsalted butter, plus another tiny knob for finishing
- Kosher salt and freshly cracked black pepper
- A pinch of chives or parsley, for garnish (optional, but pretty)
Let’s Make It
First, crack your eggs into a medium bowl. Add your dairy of choice and a good, generous pinch of salt. Now, here’s the first secret: salt your eggs now, not later. I used to be terrified of this, thinking it would make them watery, but it’s the opposite. Salt dissolves and incorporates better, seasoning the eggs all the way through and even helping to prevent them from getting too tough. Whisk them. And I mean really whisk them. You’re not just combining yolks and whites; you’re incorporating air until the surface is a sea of fine, foamy bubbles. This is the first step to fluffiness.
Grab a non-stick or well-seasoned carbon steel skillet—this is not the time to battle with cast iron. Place it over low heat. Yes, low. Not medium-low. Low. Add your tablespoon of butter and let it melt slowly, swirling it around until it just barely starts to foam. You shouldn’t hear a loud sizzle. If you do, your pan is too hot. Take it off the heat for a minute to cool down.
Pour in your eggs. Now, the hardest part: be patient. Let them sit for a good 20-30 seconds until you see a thin, cooked layer start to form at the edges. Then, with a silicone spatula, gently push the eggs from the outer edge toward the center. Tilt the pan so the uncooked egg runs into the empty space you just created. Wait another 20 seconds, and repeat. You’re not scrambling frantically; you’re making slow, deliberate folds. This creates large, soft, creamy curds.
This whole process will take about 8-10 minutes. I know, it feels like a lifetime when you’re hungry, but trust me. When the eggs are about 90% cooked—still looks a bit wet on top, but holds its shape—take them off the heat immediately. They will continue to cook from the residual heat of the pan. This is when you add that last tiny knob of cold butter, stirring it in until it melts and makes the eggs impossibly glossy. Grind some black pepper over the top, sprinkle with chives, and serve right away.
Nutritional Facts (Per Serving)
| Nutrient | Amount |
|---|---|
| Calories | ~ 220 kcal |
| Protein | 14g |
| Carbohydrates | 1g |
| Fat | 18g |
| Fiber | 0g |
| Sugar | 1g |
| Note: Values are estimates |
Variations & Add-Ins
- The French Bistro: Right at the end, off the heat, stir in a tablespoon of fresh, soft goat cheese or crème fraîche along with the butter. Divine.
- The Garden Veggie: Before you cook the eggs, gently sauté 2 tablespoons of finely diced onion and bell pepper in the butter until soft. Then, proceed with the recipe.
- The “Everything Bagel”: Swap the salt for everything bagel seasoning, and fold in a handful of smoked salmon pieces at the very end.
Serving Ideas
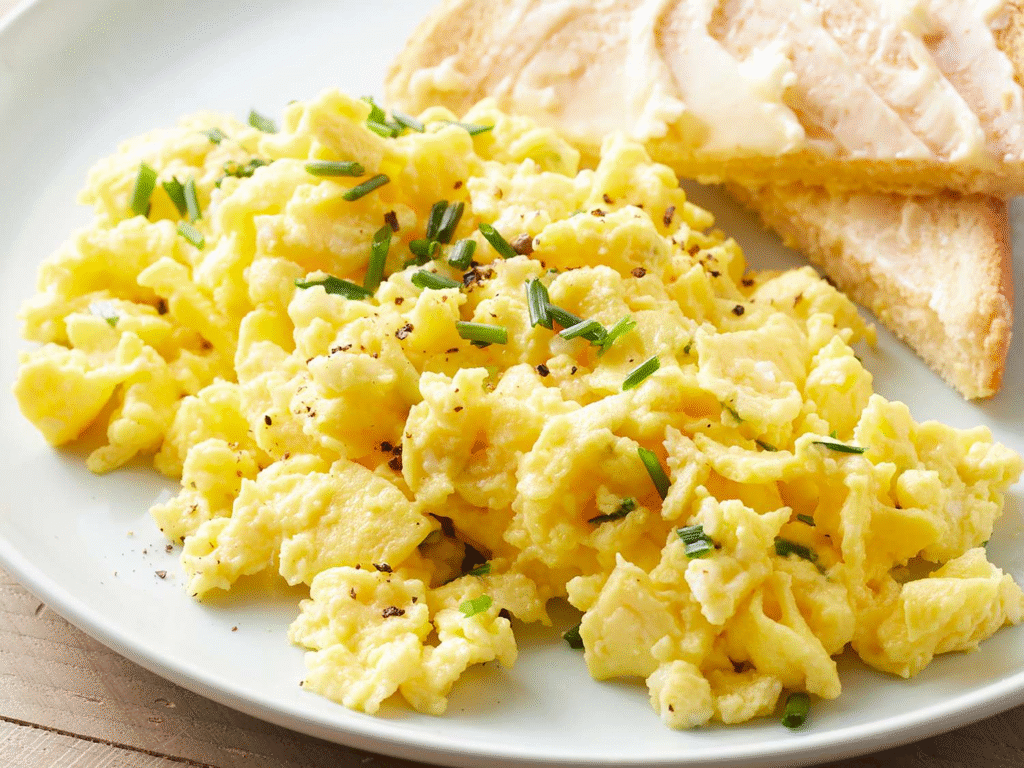
- Piled high on a thick, well-buttered slice of sourdough toast. The kind that crunches when you bite it.
- Alongside crispy bacon or breakfast sausages and a handful of sharp arugula.
- Simply on a warm plate with a few slices of ripe avocado and an extra crack of pepper.
Storage & Reheating
Honestly, scrambled eggs are best eaten immediately. But if you must, let them cool completely and store in an airtight container in the fridge for up to a day. Reheat gently in a non-stick pan over low heat with a tiny splash of water or milk to bring back the creaminess. The microwave will turn them into rubber, so please, I beg you, avoid it.
My Two Cents (Pro-Tip)
Your pan is too hot. I promise, it is. The second you hear a fierce sizzle when the eggs hit the pan, you’ve lost the battle for creaminess. Low and slow isn’t just a slogan for barbecue; it’s the golden rule for perfect scrambled eggs. If your arm gets tired from whisking, you’re doing it right.
You Asked, I’m Answering (FAQ)
- “Can I use water instead of milk?” You can, but you’ll lose the richness and a bit of the protective protein-coating that dairy provides. I don’t love it, but in a pinch, it works.
- “My eggs still turned out rubbery! What did I do wrong?” I bet you two things: the heat was too high, and you cooked them for too long. Remember, off the heat at 90%! They carry over cook like crazy.
- “Is it really necessary to whisk that much?” Yes. The foam is your friend. It introduces tiny air bubbles that expand with heat, giving you that beautiful, light texture.